

Thinking about getting a dermal piercing but not sure what it involves? You’re in the right place. At Mantra Tattoos, we believe in giving you all the info upfront, so you can feel confident walking into your next appointment. In this post, we’ll break down everything you need to know about how dermal piercings are done, from prep to aftercare.
What’s a Microdermal Piercing?
Dermal piercings, also called single-point piercings, are body modifications where jewelry is anchored under the skin. Unlike earrings, there’s no exit hole, just one tiny entrance point with a decorative top showing. These piercings are known for their sleek, minimalist look and can be placed almost anywhere on the body. Dermals are considered semi-permanent; depending on placement, jewelry type, and aftercare, they can last from 6 months to a few years.
Many people wonder how to do a microdermal piercing. Here is the step-by-step process.
How is a Dermal Piercing Done?

Getting a dermal piercing might seem intense, but the process is actually pretty straightforward when done by experienced piercers. Before your piercer even begins, they usually ask about your medical history, allergies (especially to metals), and lifestyle. This helps them recommend the best placement and jewelry type for your body and routine. They might also review the complete dermal piercing procedure again to ensure you feel informed and calm.
Let’s walk through the dermal piercing procedure step-by-step so you know what to expect from start to finish.
Step 1: Clean and Prep

This step sets the foundation for a safe and successful piercing. First, the piercer will thoroughly clean the area with a medical-grade disinfectant. This helps reduce the chance of infection and ensures a sterile work surface. Next, the spot for your piercing will be carefully marked with a surgical pen. Your piercer will also confirm the placement with you before proceeding.
Communication is key here. It’s your body; you should love where the piercing is placed!
Step 2: Create the Pocket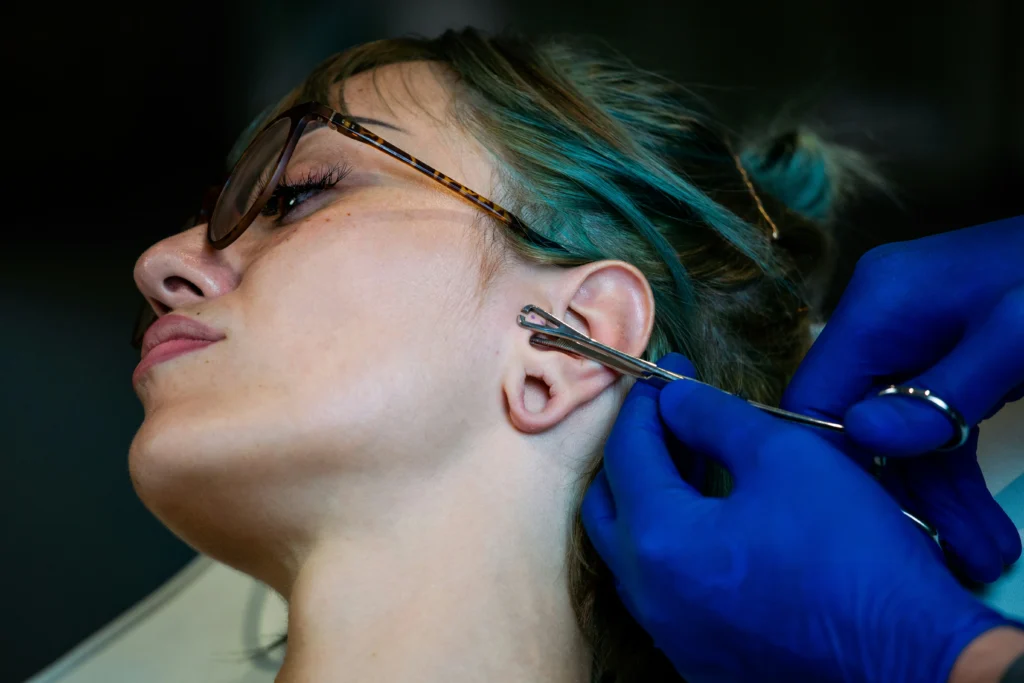

Here’s where the magic starts. Many wonder, “How do you pierce a dermal?”. To insert the piercing jewelry, your piercer must create a pocket below the skin’s surface. This is done using either a dermal punch or a needle, depending on the area and your skin type. It sounds more intense than it is; most clients say they feel a bit of pressure and maybe a pinch, but it’s over quickly. This step is done with precision, speed, and care. Creating a clean, properly sized pocket ensures that the anchor will sit flush and securely in the skin.
A well-done pocket helps prevent issues like migration or rejection down the line.
Step 3: Insert the Anchor
Now it’s time to insert the anchor. This tiny base, often shaped like a T or footed disc, is made of implant-grade titanium or surgical steel. The anchor is carefully guided into the pocket using sterile tools like dermal forceps or a threaded taper. The foot of the anchor rests under your skin, while the post sticks out slightly so the top can be added.
A common question many ask is, “How does a dermal piercing stay in?” Dermals stay in place because of the anchor used in the piercing. Some anchors have small holes in the base, which allow your tissue to grow through and around the anchor, locking it in place during the healing process. Once in, the anchor should feel snug but not painful.
Step 4: Attach the Top
Here comes the fun part, jewelry! The decorative top is gently screwed or pressed onto the post that extends from the anchor. These tops come in a variety of styles: gemstones, flat discs, shapes, even magnetic options that click on and off easily. If you opt for a magnetic or push-fit top, it’ll pop into place without any twisting.
For threaded jewelry, your piercer will carefully secure the top using sterile gloves and tools to ensure no cross-contamination. After the top is on, your piercer will give it one last check to make sure everything is secure and sitting correctly.
Ready for you next piercing? Schedule an appointment with Mantra Tattoos today for expert piercing services!
How Does a Dermal Piercing Work: Punch vs. Needle
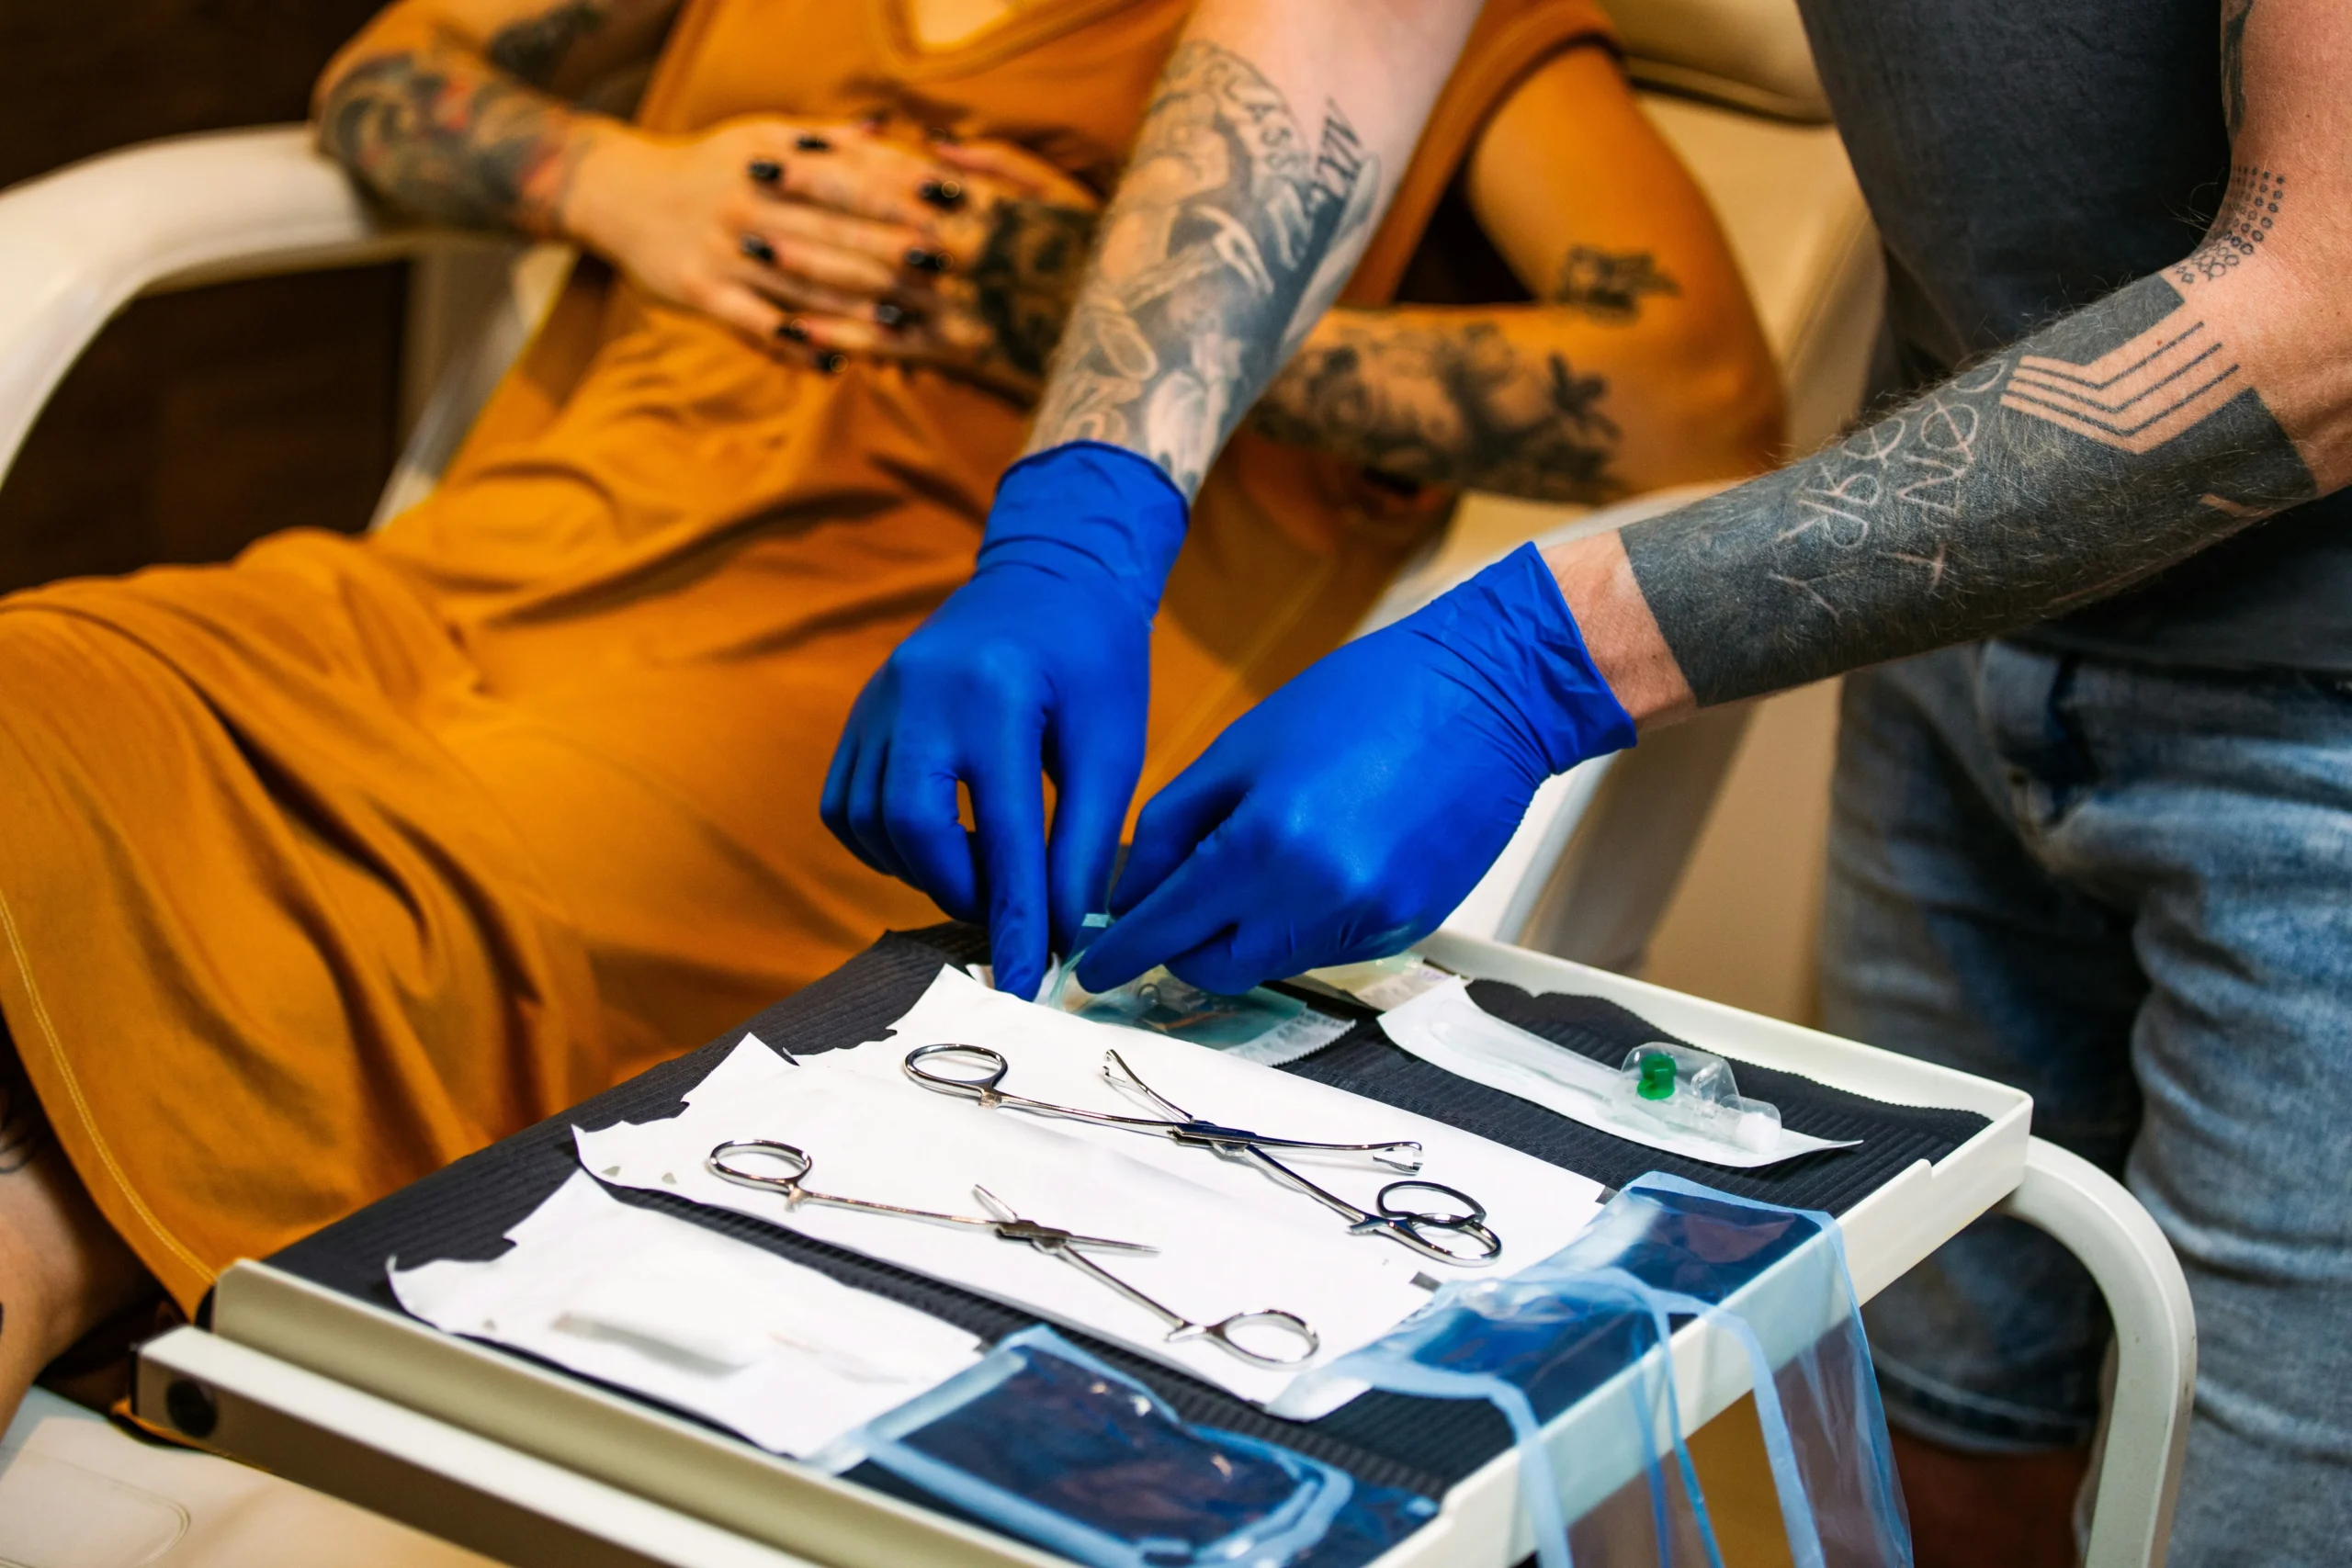
Dermal punch and needle are both safe and effective ways to pierce. Choosing between the two depends on the placement of your piercing and your piercer’s technique. Here are the key differences between the two tools:
Dermal Punch
A dermal punch is a small, sharp, circular tool that:
- Removes a tiny bit of tissue
- Allows for a tighter fit
- Is often used on thicker areas like the chest or lower back
Piercing Needle
A piercing needle is a sharp, hollow needle that:
- Pushes the tissue aside
- Less invasive
- Works better for smaller or more sensitive areas
Some people prefer the punch because it often results in less swelling. Others prefer needles because they’re less aggressive. It really depends on your body and the spot you’re piercing.
Where Can Dermals Be Placed?
Dermal piercings can go just about anywhere you have flat skin and a bit of tissue:
- Cheekbones
- Collarbone
- Lower back (back dimples)
- Chest or sternum
- Nape of neck
- Hips
- Arms, wrists, fingers
- Ankles, thighs, and even toes
Placement matters for dermal piercings because some spots heal better than others. Talk to your piercer about what’s best for your lifestyle and body. Remember, high-friction areas like the hips or fingers may take longer to heal or are more likely to get irritated from everyday activities like getting dressed or typing.
What Jewelry Is Used in Dermal Piercings?
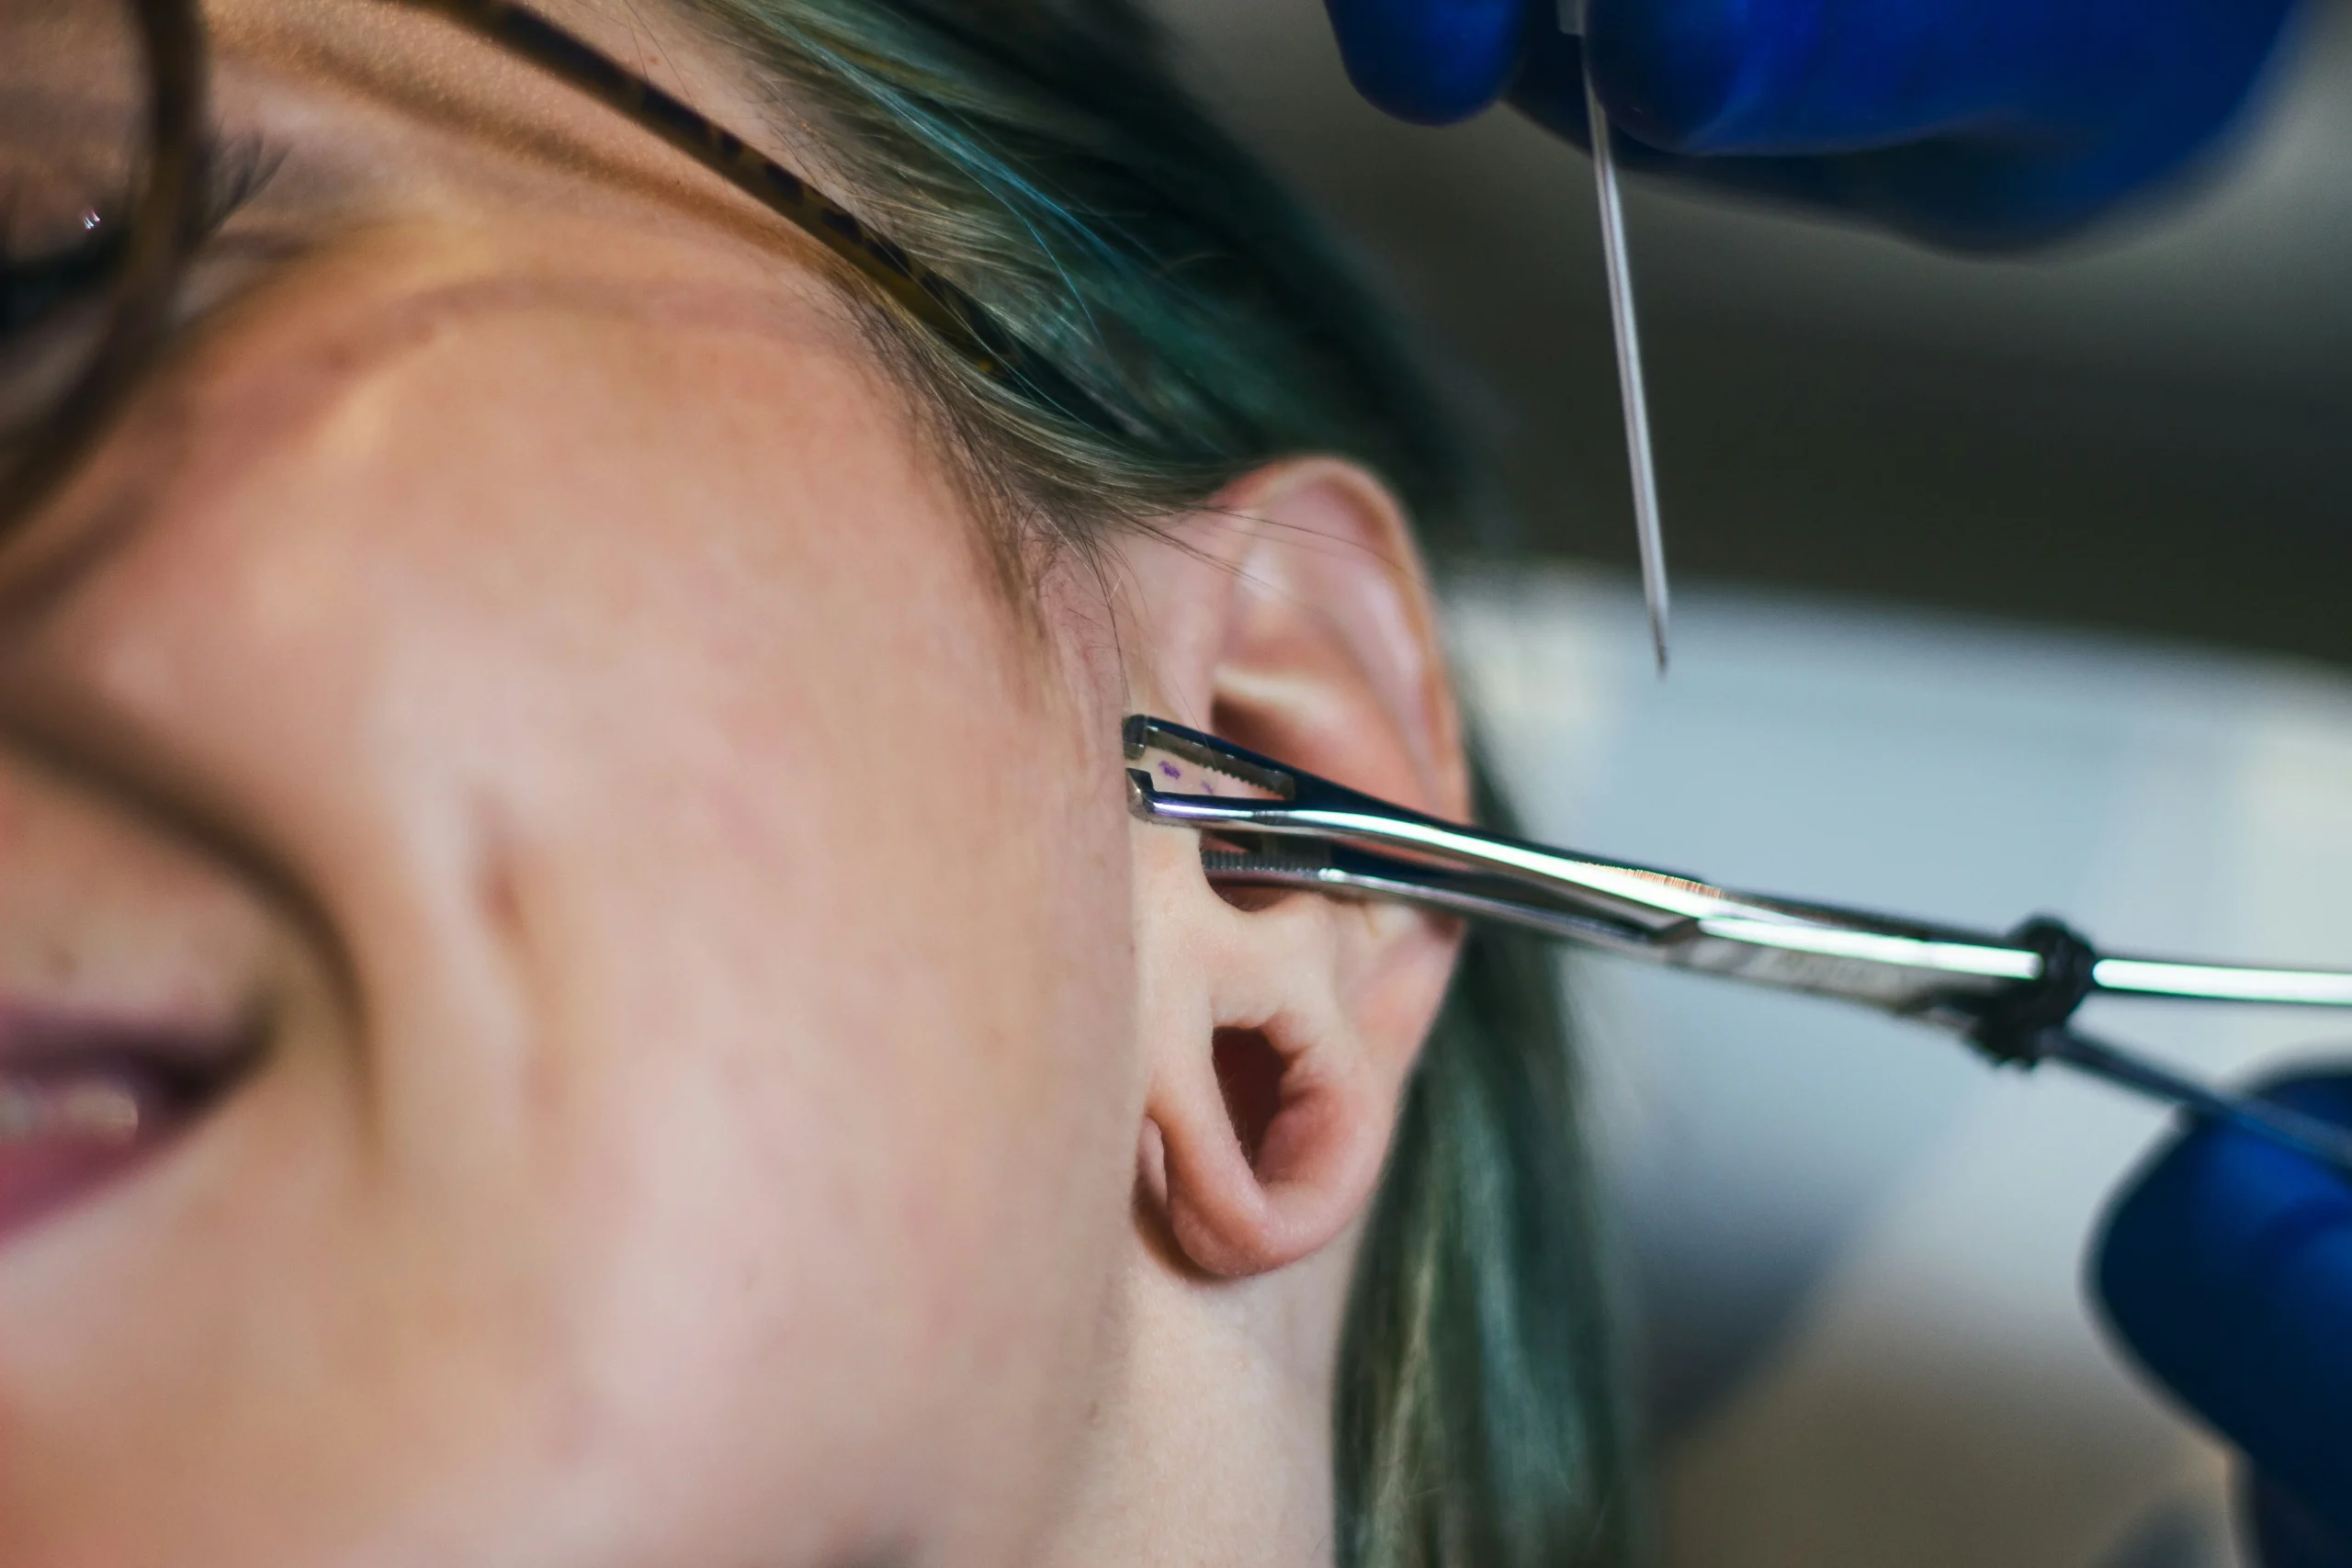
Most dermals use an anchor and a top. The anchor stays under the skin. The tops are often:
- Flat discs
- Gemstones
- Spikes
- Ball tops
- Custom shapes like hearts, stars, or flowers
We use safe metals like titanium, gold, and surgical steel here at Mantra. Titanium is especially popular because it’s lightweight, strong, and unlikely to cause allergic reactions. If you wear makeup, avoid applying any products near the piercing while it’s healing. That includes foundation, setting powder, or highlighter, anything that can clog pores or introduce bacteria. The same goes for scented lotions, body sprays, or oils.
Dermal Piercing Aftercare
Healing time for dermal piercings usually ranges from 1 to 3 months. This also depends on the location of the piercing, your overall health, and how well you follow piercing aftercare instructions. Proper aftercare is essential, not just for healing, but also for preventing infection, migration, and rejection.
Here’s how to take care of your new dermal piercing:
- Clean the area twice a day with saline solution: Use a sterile saline spray or a homemade mix of sea salt and warm distilled water. Gently pat the area with a clean gauze pad, never rub, and allow it to air dry. Avoid using alcohol, hydrogen peroxide, or harsh soaps, as these can damage healing tissue.
- Avoid tight clothing or bumping the area: Your dermal needs space to heal. If it’s on your chest, hip, or back, try wearing loose-fitting clothes and avoid sleeping on that side. Friction or pressure can irritate the skin or dislodge the anchor.
- Don’t twist, touch, or play with it: Unlike traditional piercings, dermals don’t go all the way through the skin, so moving them around only disrupts the healing process. Keep your hands off, especially before they’re clean.
- Cover it with a breathable bandage at night (if needed): If you’re a restless sleeper or the area gets caught on your blankets or hair, use a clean, non-stick bandage to protect it overnight. Make sure the bandage isn’t too tight; it needs to breathe.
- Avoid pools, hot tubs, and lakes until fully healed: Bodies of water can carry bacteria that may lead to infections. Even saltwater and chlorinated pools can irritate fresh piercings. Stick to showers and keep the area dry afterward.
- Don’t change the top too soon: Wait until your piercer gives you the green light, usually after the full healing period, before swapping out the jewelry top. Changing it too early can introduce bacteria or pull the anchor loose.
- Let it breathe and keep it dry when possible: After cleaning, pat dry with a clean towel or paper towel. Never reuse cloth towels, which could carry bacteria. Exposing your piercing to fresh air helps the skin dry out naturally, which speeds healing.
- Watch for signs of irritation or infection: Redness, tenderness, and light scabbing are normal in the beginning. However, if you notice swelling, pus, a bad smell, or increasing pain, contact your piercer or a medical professional. Catching issues early can make all the difference.
- Don’t pick at crusties or scabs: You might see some clear or yellowish discharge that dries into a crust, totally normal. Let it fall off on its own. Picking can open the wound and delay healing.
Taking care of your dermal piercing is all about consistency and patience. A well-cared-for piercing heals cleaner, lasts longer, and looks better. If you’re ever unsure, don’t guess, ask your piercer. At Mantra Tattoos, we’re always here to help guide you through the healing process.
Get Expert Dermal Piercings Done at Mantra Tattoos!
Now that you know how are dermals done, you’re better prepared to decide if this unique piercing style suits you. Whether you’re going for a bold face dermal or subtle back dimples, it’s all about placement, care, and working with a pro. If you’re in Colorado, stop by Mantra Tattoos. We’re open 7 days a week and would love to help you plan your next piercing.
Contact Mantra Tattoos today to get expert tattoo and piercing in Denver!